Window Smoke
T Spawn → Window
Stand at T spawn near the left corner. Look at the top of the window frame and throw a smoke grenade. It will land on the window sill, blocking the window entirely.
GRENADE LINEUPS
Every smoke, flash and molotov lineup across 8 maps — see the throw plotted on the radar, then watch the video.
Lineup freshness. These CS2 lineups were last reviewed on 4 July 2026. 2 tracked CS2 updates have shipped since (most recently 4 August 2026) — including a content update, so it is worth re-checking anything that lands near changed geometry. We track Valve’s game files daily; map geometry itself is not yet in that extraction, so this is a staleness signal rather than a per-lineup verification.
See also: CS2 tools, build your crosshair, pro settings, lineups, guides, maps, console commands, pro crosshair codes.
More map help: map callouts, grenade guide, practice config generator and workshop maps.
118 lineups
T Spawn → Window
Stand at T spawn near the left corner. Look at the top of the window frame and throw a smoke grenade. It will land on the window sill, blocking the window entirely.
T Ramp → Connector
Position yourself on T ramp. Aim at the wall corner where connector meets mid. Throw a smoke that will block the entire connector from CT view.
A Ramp → Jungle
Stand in A ramp area. Look toward the jungle/courtyard entrance. Throw a smoke to cover the jungle completely and block off A site from that angle.
A Site → T Ramp
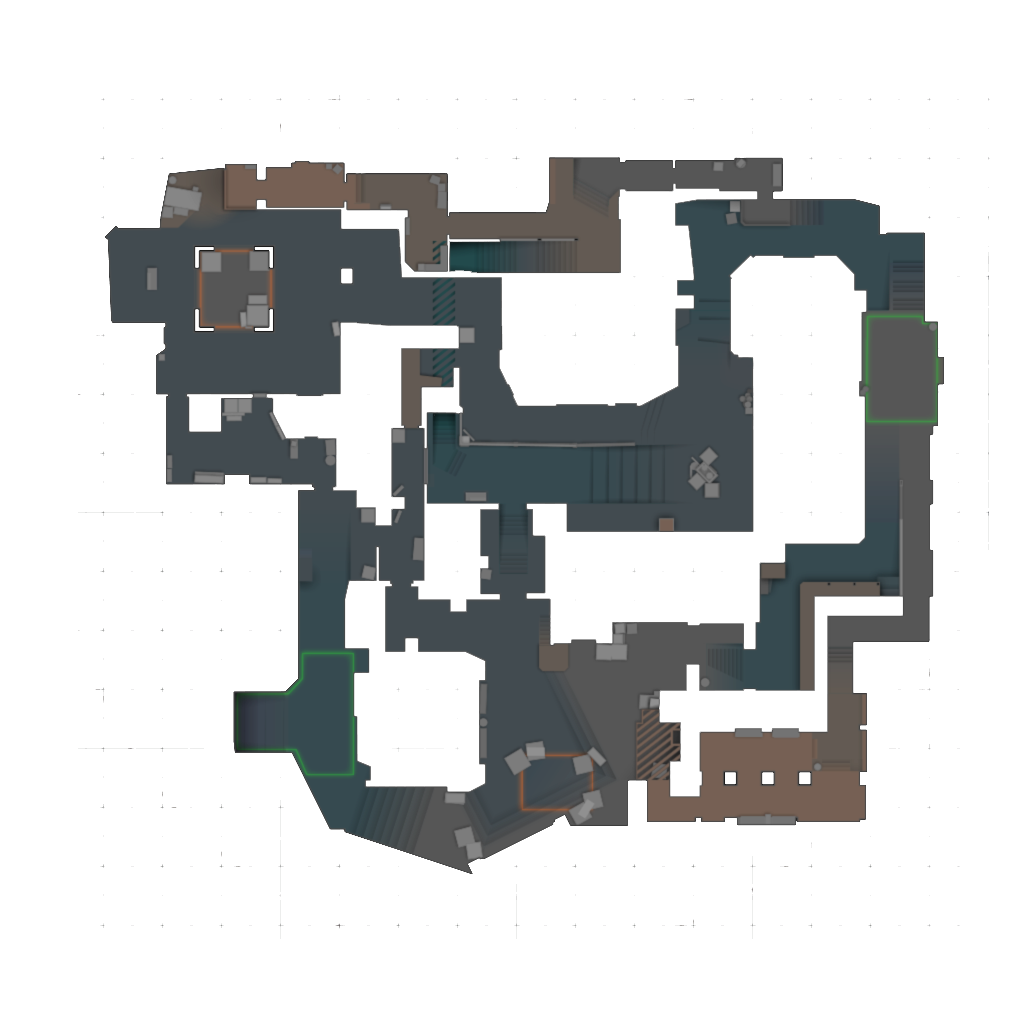
From A site position, line up at the wall edge. Aim at the far end of T ramp. Throw a smoke that will bounce and land at the base of T ramp, cutting off rotations.
T Spawn → Stairs
Stand at T spawn on the left side. Aim at the vertical wall of stairs. Throw a smoke grenade that will land and block the stairs from CT view.
B Apartments → B Short
Position in B apartments. Look toward the short corridor entrance. Throw a smoke to block B short and prevent CT aggression from that angle.
B Apartments → Van Area
Stand at B apartments looking toward the van area. Throw a smoke that lands near the van, blocking off the B site from outside view.
Palace → A Site
Position yourself in palace area. Throw a flash grenade high into the air above A site. It will illuminate the site for your team to push aggressively.
A Ramp → A Short
Stand at the edge of A ramp. Aim the flash to bounce off the wall and land near A short. Time it with your teammates' push to blind CTs.
Balcony → T Spawn
From CT balcony, throw a flash that bounces backward and blinds the T spawn area for aggressive peeks.
B Apartments → B Site
Stand at B apartments. Throw a molotov grenade toward the B site. It will create a fire zone that forces CTs to rotate or take damage.
Mid → Connector
From mid area, throw an HE grenade toward the connector passage. It will damage and flush out CTs playing that position.
T Spawn → Stairs
Stand at T spawn and throw a flash grenade toward the stairs area. It will blind CTs holding that position.
A Site → A Ramp
Position on A site. Throw an HE grenade down A ramp. It will damage incoming Ts during a retake attempt.
Balcony → Window
From balcony, throw a flash that peaks into the window area. Requires precise timing and positioning.
T Spawn → Construction
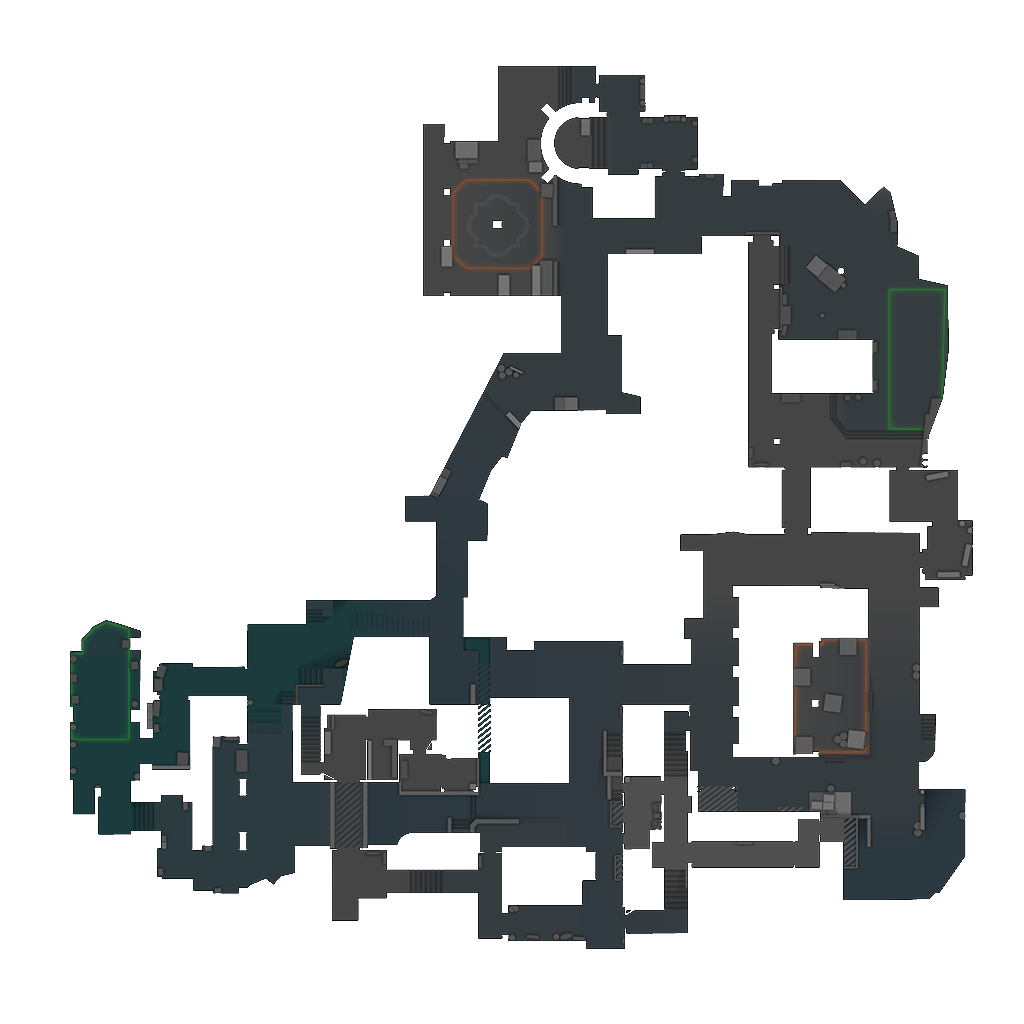
Stand at T spawn and look toward construction. Throw a smoke grenade that lands at the construction site entry, blocking CT angles from that area.
T Spawn → Banana
From T spawn, throw a smoke down banana passage. It will block the entire passage and prevent CT pushes from B.
Mid → Arches
Position in mid area. Throw a smoke toward the arches structure. It will block CT rotations from mid to A/B.
B Banana → Pit
Stand in B banana. Throw a smoke that bounces into the pit area, blocking the sunken courtyard completely.
A Site → Library
From A site, throw a smoke toward the library area. Blocks T side utility and vision from that direction.
A Main → A Site
Position in A main. Throw a flash that bounces over the railing and blinds CTs on A balcony.
B Banana → Boiler
Stand in B banana near boiler. Throw a flash that illuminates the boiler room area for your team to entry.
A Main → A Site
From A main, throw a molotov into A site. Creates fire that forces CTs to reposition or take damage.
B Banana → Pit
Stand in banana and throw a molotov into the pit. Prevents CTs from holding that position.
Mid → Mid Passage
From mid area, throw a molotov down the mid passage. Damages and pushes back T side players.
A Site → Construction
From A site, throw an HE grenade toward construction. Deals damage to T players in that area.
B Site → Arches
Position on B site and throw an HE toward the arches. Damages rotating T players.
Library → A Main
From library, throw a flash that bounces into A main. Blinds T players entering the site.
B Site → Banana
Stand on B site and throw a molotov into banana. Prevents T side from using banana route.
T Spawn → Long Corridor
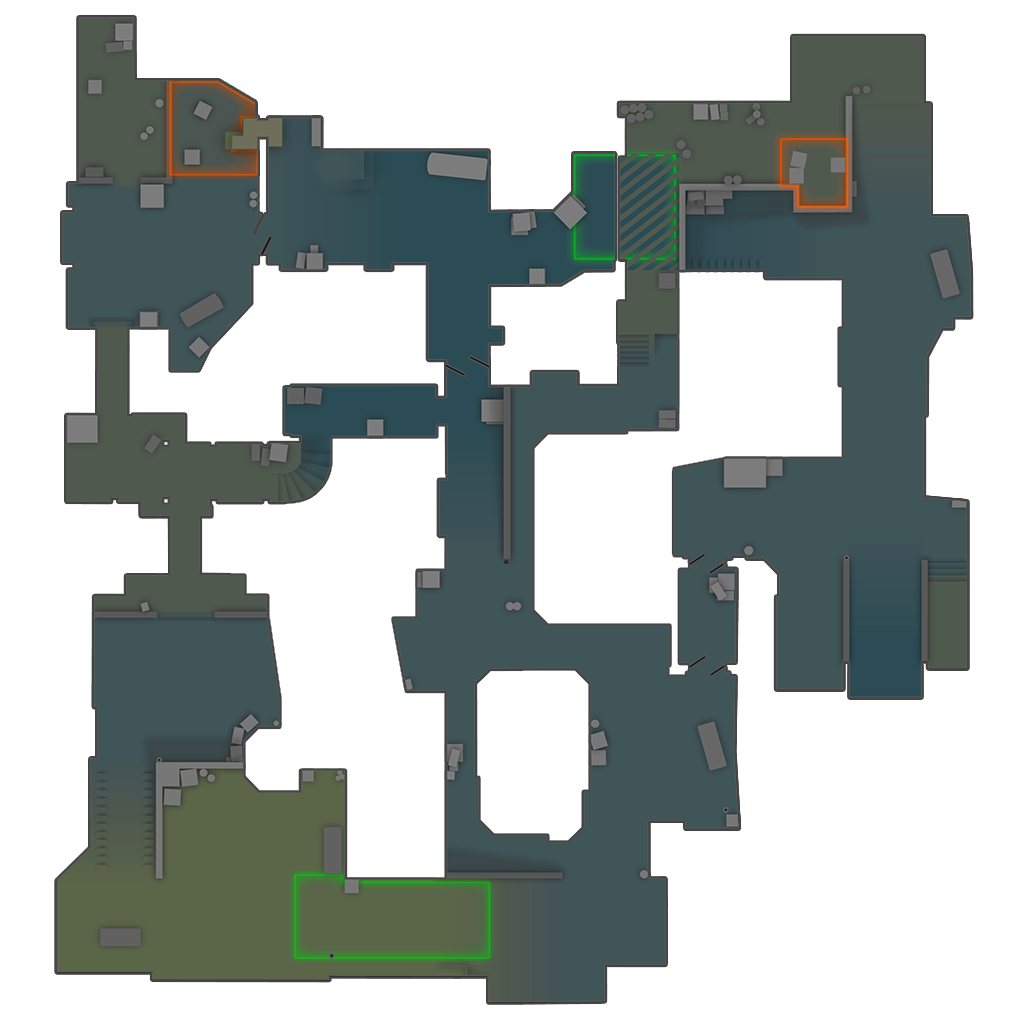
Stand at T spawn on the left side. Look straight down the long corridor. Throw a smoke grenade that lands in the middle of long, blocking CT vision completely.
T Spawn → Short
Position at T spawn. Throw a smoke toward short stairs area. Blocks CT short players and prevents rotations.
Mid → Mid Passage
Stand in mid area and throw a smoke down the main mid corridor. Blocks CT sightlines from both sides.
T Spawn → B Site
Throw multiple smokes to cover B site completely - one for B main, one for upper B, one for CT spawn rotations. Requires timing.
A Site → Catwalk
From A site, throw a smoke toward catwalk. Blocks long pushes and upper mid visibility.
Lobby → A Site
From lobby area, throw a smoke that lands on A site. Blocks entry and forces CTs to retake.
Long Entrance → Long
Position at long corridor entrance. Throw a flash grenade that bounces and blinds CTs holding long.
Short Stairs → A Site
From short stairs, throw a flash that bounces into A site. Blinds CT defenders before rushing.
B Entrance → B Site
Stand at B main entrance. Throw a flash into B site. Blinds defenders and allows team to push.
Long Entrance → Long
From long entrance, throw a molotov down the corridor. Denies space and forces CTs back.
A Entrance → A Site
Throw a molotov into A site to deny space and force rotations.
Mid → Mid
Throw an HE grenade in mid passage to damage and push back T players.
A Site → Long
From A site, throw an HE down long corridor. Damages T executers rotating through long.
B Site → B Main
From B site, throw a flash that bounces into B main. Blinds incoming T players.
Rafters → B Site
Position in rafters and throw an HE down to B site. Damages B executers.
T Spawn → Main
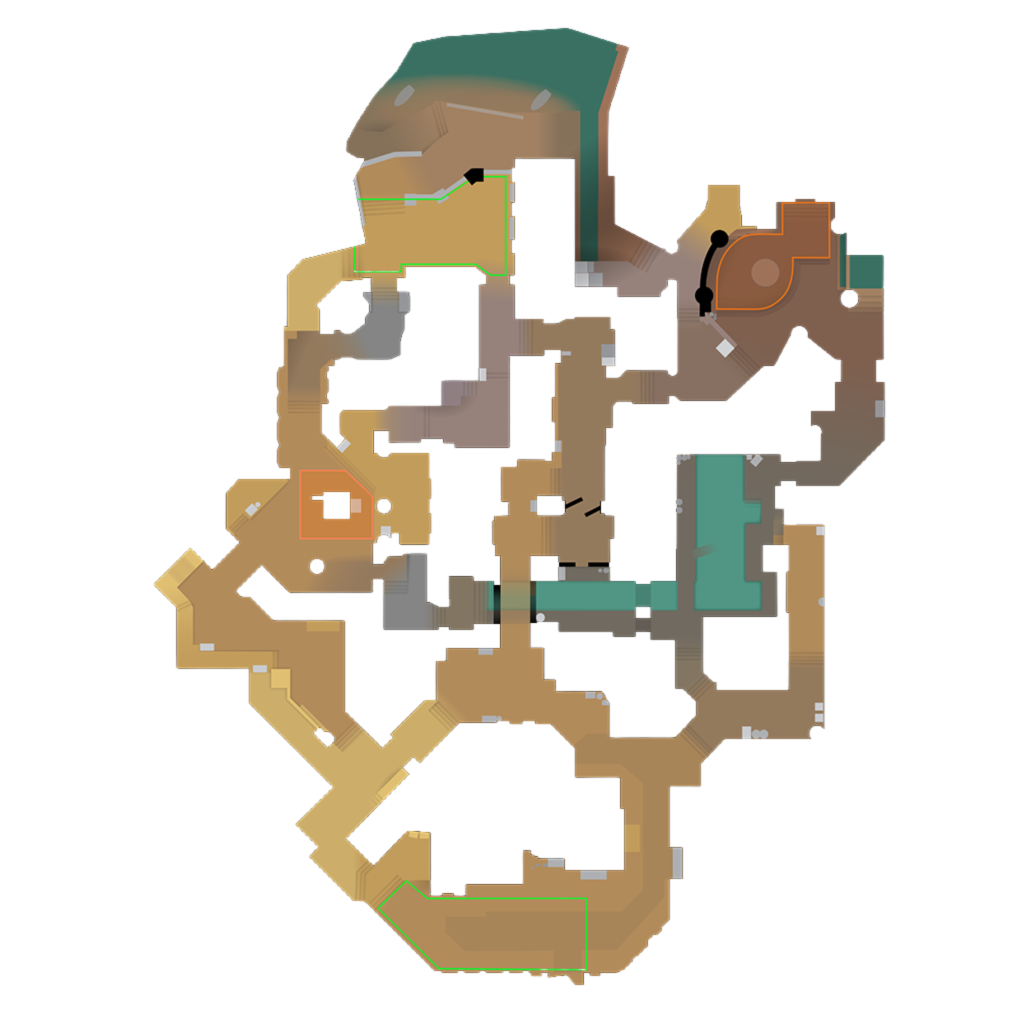
Stand at T spawn and look straight down main corridor. Throw a smoke that lands in the middle of main, completely blocking CT vision.
Main → Temples
From main area, throw a smoke toward the temples/statue area. Blocks side paths and CT rotations.
Outside → T Main
From CT outside position, throw a smoke to block T main advancement. Requires good positioning.
A Approach → Pyramid
Stand near pyramid area. Throw a smoke that covers the pyramid structure and blocks CT vision from site.
T Spawn → B Main
From T spawn, throw a long smoke to B main. Blocks sightlines and allows team to rotate to B.
A Site → Main
From A site, throw a smoke toward main. Prevents T site executes from that angle.
Main Entrance → Main
Stand at main entrance and throw a flash down main. Blinds CT positions.
A Approach → Pyramid
Throw a flash that bounces into pyramid area. Blinds defenders holding pyramid.
Site → Temples
From site, throw a flash into temples area. Blinds T players advancing from that route.
Main → Outside
Throw a molotov toward outside position. Denies space and forces CT repositioning.
A Approach → A Site
Throw a molotov into A site. Creates denial zone for CT defenders.
B Approach → B Site
From B approach, throw a molotov into B site. Denies CT positions.
CT Spawn → Main
From CT spawn, throw an HE grenade down main. Damages advancing T players.
A Site → Pyramid
From A site, throw an HE toward pyramid. Damages T players advancing there.
Outside → Main
From outside, throw a flash into main. Blinds T side during aggressive plays.
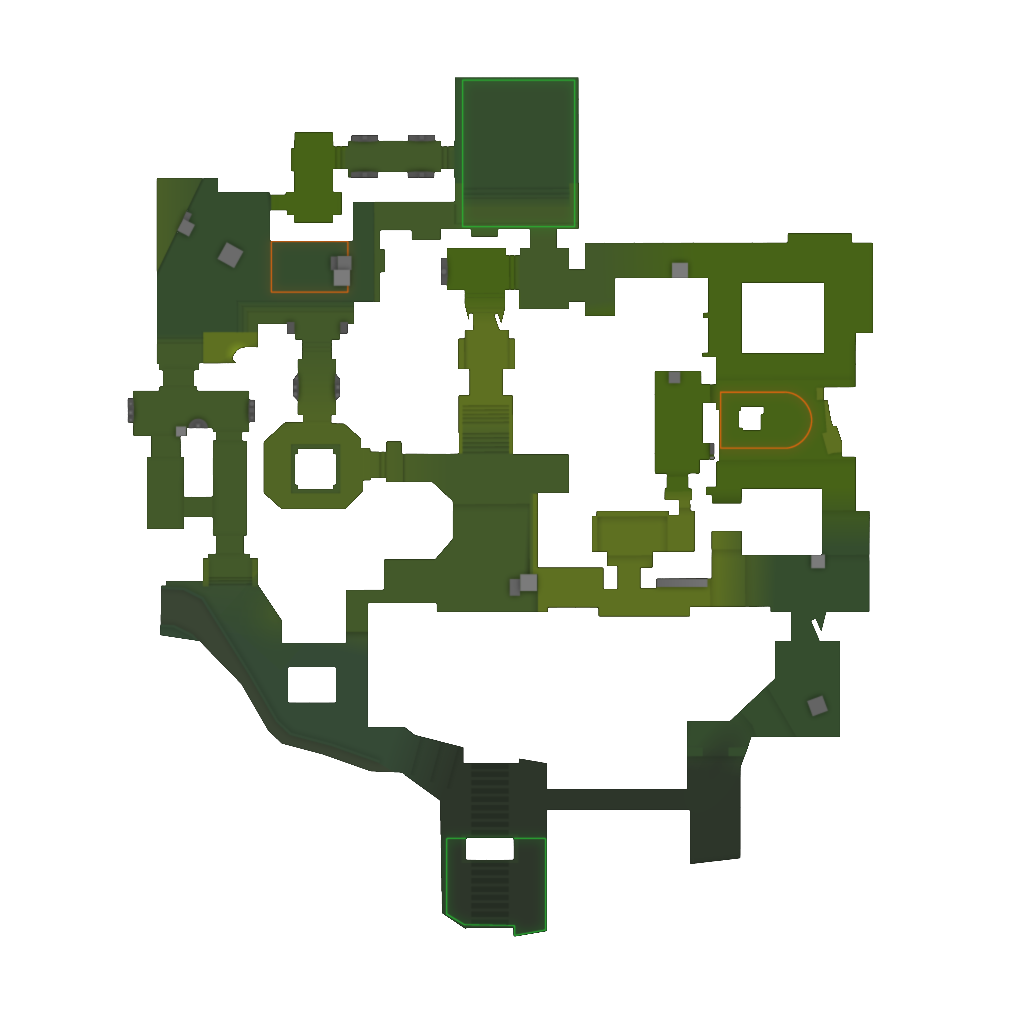
T Spawn → Main
Stand at T spawn and throw a smoke straight down main corridor. Blocks CT vision and allows team to advance.
A Main → A Site
From A main, throw a smoke onto A site. Blocks CT defenders and facilitates site take.
A Main → A Backsite
Throw a smoke that bounces onto A backsite area. Requires precise aim.
Main → Pedestal
From main area, throw a smoke toward pedestal structure. Blocks CT positions.
T Spawn → Mid
Throw a smoke to control mid passage. Prevents CT rotations through middle.
B Entrance → B Site
From B entrance, throw a smoke onto B site. Allows safe entry.
A Main → A Site
Throw a flash into A site. Blinds defenders before aggressive push.
Main Entrance → Main
From main entrance, throw a flash down main. Blinds CT main players.
B Entrance → B Site
Throw a flash into B site from entrance. Blinds B defenders.
A Main → A Site
Throw a molotov into A site to deny space and force rotations.
B Entrance → B Site
Throw a molotov into B site. Denies positions for CT defenders.
Mid → Main
From mid, throw a molotov down main. Damages and pushes back T players.
CT Spawn → Main
From CT spawn, throw an HE down main. Damages advancing T players.
A Site → A Main
From A site, throw an HE toward A main. Damages T players during executes.
B Site → B Entrance
From B site, throw an HE toward entrance. Damages incoming T players.
Yard → Outside
From yard area, throw a smoke that covers outside position. Blocks CT outside vision.
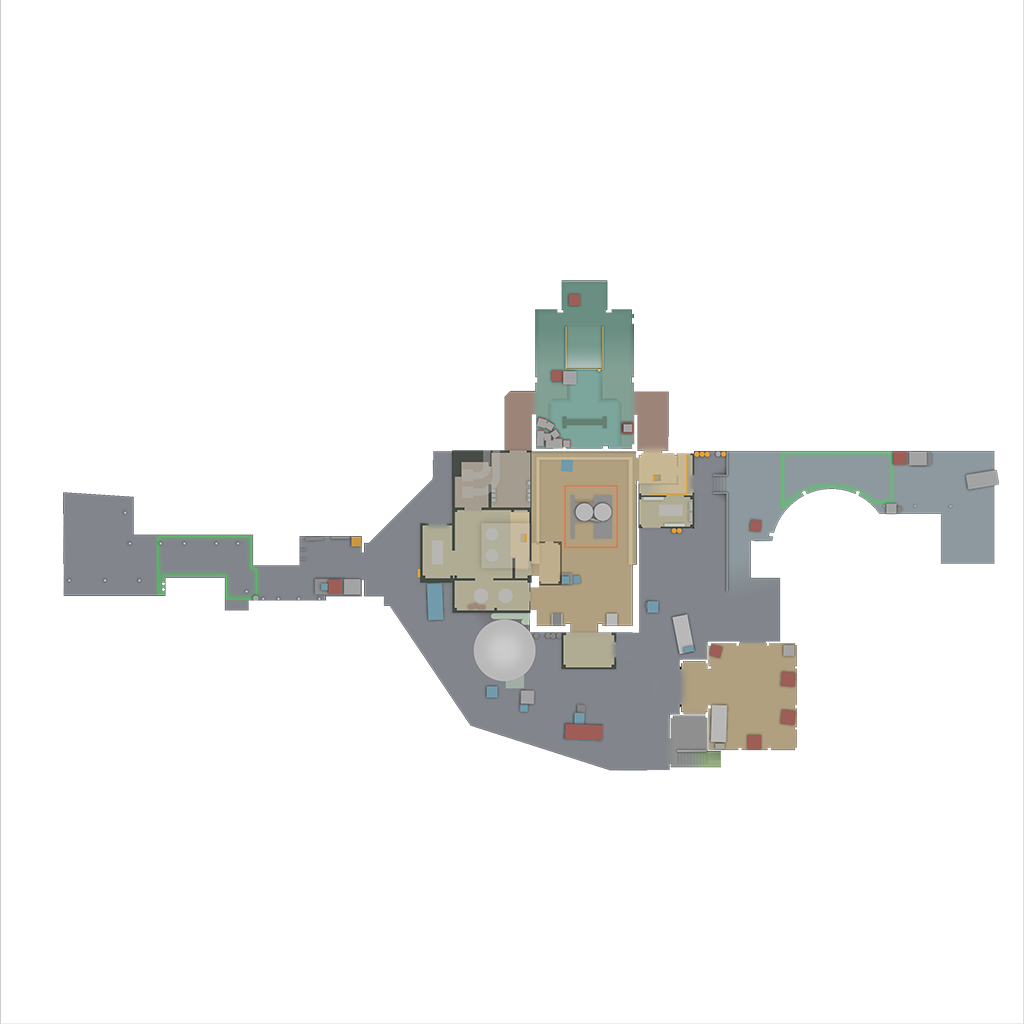
T Spawn → Yard
Stand at T spawn and throw a smoke into main yard area. Blocks immediate CT vision.
Upper → Rafters
From upper area, throw a smoke into rafters. Blocks T players pushing through rafters.
Yard → Red Container
From yard, throw a smoke toward red container area. Blocks sightlines.
Lobby → Trophy
From lobby, throw a smoke toward trophy case. Blocks CT positions on site.
Upper → Hut
From upper, throw a smoke toward hut area. Blocks T pushes from outside.
Yard → Outside
From yard, throw a flash into outside. Blinds CT outside defenders.
Lobby → Rafters
Throw a flash that bounces into rafters area. Blinds T players there.
Upper → Red Container
From upper, throw a flash toward red container. Blinds T players there.
Yard → Outside
From yard, throw a molotov into outside. Denies CT positions.
Lobby → Trophy
Throw a molotov onto trophy case. Denies space and forces rotations.
Outside → Yard
From outside, throw a molotov into yard. Damages and controls T side.
Lobby → Yard
From lobby, throw an HE into yard. Damages advancing T players.
Upper → Trophy
From upper site, throw an HE toward trophy case. Damages T on site.
Monster → Heaven
Stand at monster entrance. Aim above the heaven ledge and throw a smoke that blocks heaven view over B site.
Water → Pillar
From the water canal area, throw a smoke onto the pillar position on B site. Blocks CT holding pillar.
Long A → Bank
Position on long A. Aim at the bank building edge and throw a smoke that covers bank completely.
Playground → Connector
From playground, throw a smoke toward the connector entrance. Cuts off CT rotations.
A Site → Long
From A site near truck, throw a smoke toward long. Blocks T vision from long approach.
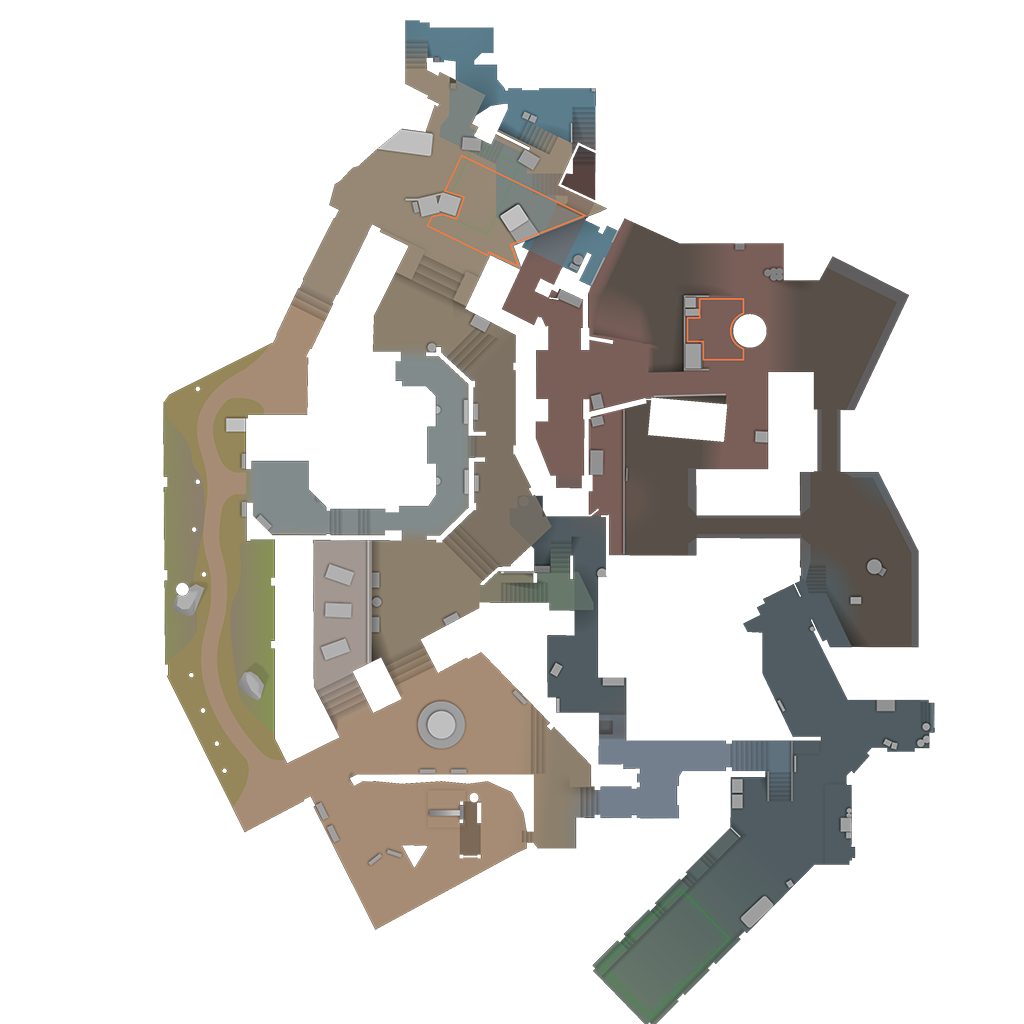
Monster → B Site
Inside monster, throw a flash that pops out onto B site. Blinds CTs holding site angles.
Long → A Site
From long A approach, throw a flash over the wall onto A site. Blinds CT defenders.
Short A → A Site
From toilets/short A, throw a flash that bounces into A site. Blinds defenders from short approach.
Water → Pillar
From the water area, throw a molotov onto pillar. Forces CTs off this strong position.
Canal → Heaven
Throw a molotov from canal that lands on heaven platform. Forces the CT off this powerful position.
B Site → Monster
From B site, throw a molotov into monster entrance. Denies T access through monster.
Connector → Playground
From connector, throw an HE toward playground. Damages T players staging there.
A Site → Long
From A site, throw an HE down long. Damages advancing T players.
Heaven → Water
From heaven, throw an HE into the water canal. Damages T players using canal approach.
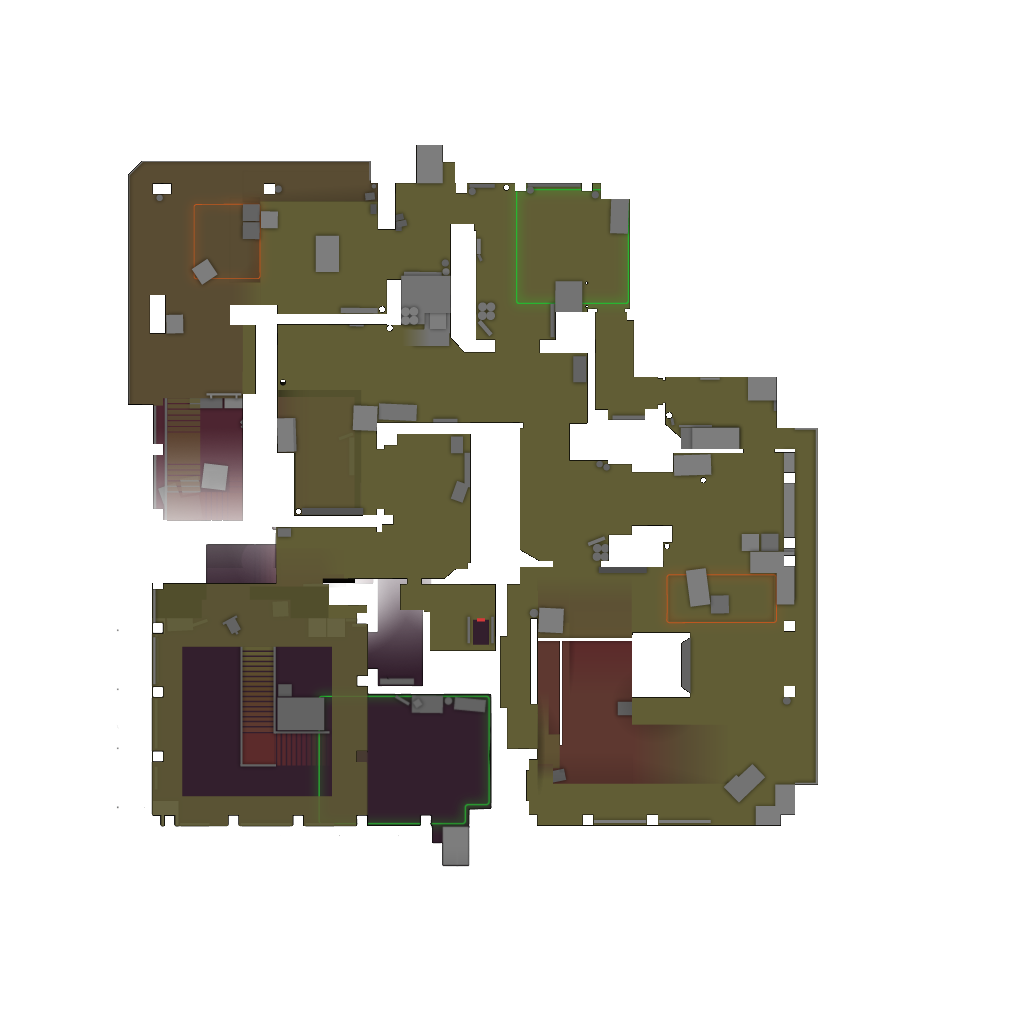
T Spawn → Mid
Stand at T spawn and throw a smoke straight down mid. Blocks CT vision completely.
A Access → A Site
From A access area, throw a smoke onto A site. Allows safe entry.
Lobby → Elevator
Throw a smoke toward elevator area. Blocks CT view of elevator approach.
Lower → B Site
From lower area, throw a smoke onto B site. Allows team to enter safely.
A Site → A Rafters
From A site, throw a smoke toward rafters. Blocks T utility from above.
T Spawn → Mid
Stand at T spawn and throw a flash down mid. Blinds CT mid players.
A Access → A Site
Throw a flash into A site from access. Blinds A defenders.
Lower → B Site
Throw a flash into B site from lower. Blinds B defenders.
A Access → A Site
Throw a molotov onto A site. Denies space for CT defenders.
Lower → B Site
Throw a molotov onto B site. Denies positions and forces rotations.
Upper → Elevator
From upper, throw a molotov into elevator. Damages T players using elevator.
A Site → A Access
From A site, throw an HE toward access. Damages T players entering.
B Site → Lower
From B site, throw an HE toward lower. Damages T players entering B.
Good utility wins rounds. A single well-placed smoke can shut down an angle, a pop-flash can win an entry, and a molotov can clear a common hiding spot or delay a push. These CS2 nade lineups are grouped by map so you can learn the smokes and flashes that matter for the positions you actually play. Each one plots the throw on the map radar — where you stand and where it lands — with a video to copy the exact alignment.
Start with the essential mid and site-execute smokes on your main map, then layer in flashes and molotovs. If you queue alone, the "Solo-friendly only" filter narrows this to the 38 grenades that pay off without anybody following them — map-control smokes, rotation cuts and position-denial molotovs, rather than the site utility that needs four teammates entering behind it. For the full set on a single map, open its lineups page from any card below.
"Nades" is shorthand for grenades — smoke grenades, flashbangs, molotovs/incendiaries and HE grenades. A nade lineup is a repeatable way to throw one so it lands in exactly the right spot every round.
Each lineup shows where to stand, where to aim, and where the nade lands on the map radar, plus a video. Stand in the listed position, match the aim point, and use the throw type (left/right/jump-throw) described.
38 of the 118 lineups here are marked Solo-friendly. Those are the ones a single player throws and benefits from immediately — a smoke that takes mid, one that cuts a rotation or a sniper angle, a molotov that clears a position you are about to hold. Utility thrown into a bombsite to open it for an entry is excluded: without teammates moving behind it, it buys nothing. Use the "Solo-friendly only" filter to see just those.
We cover 8 maps — Mirage, Inferno, Dust 2, Anubis, Ancient, Nuke, Overpass, Vertigo — with 118 lineups in total across smokes, flashes, molotovs and HE grenades.