Though Counter-Strike is primarily a shooter game, it is important to remember that it is a tactical shooter game, meaning teamwork and proper communication are required. That is why it is necessary to have a working microphone and use it to inform callouts and make sure your teammates are well informed in the round.
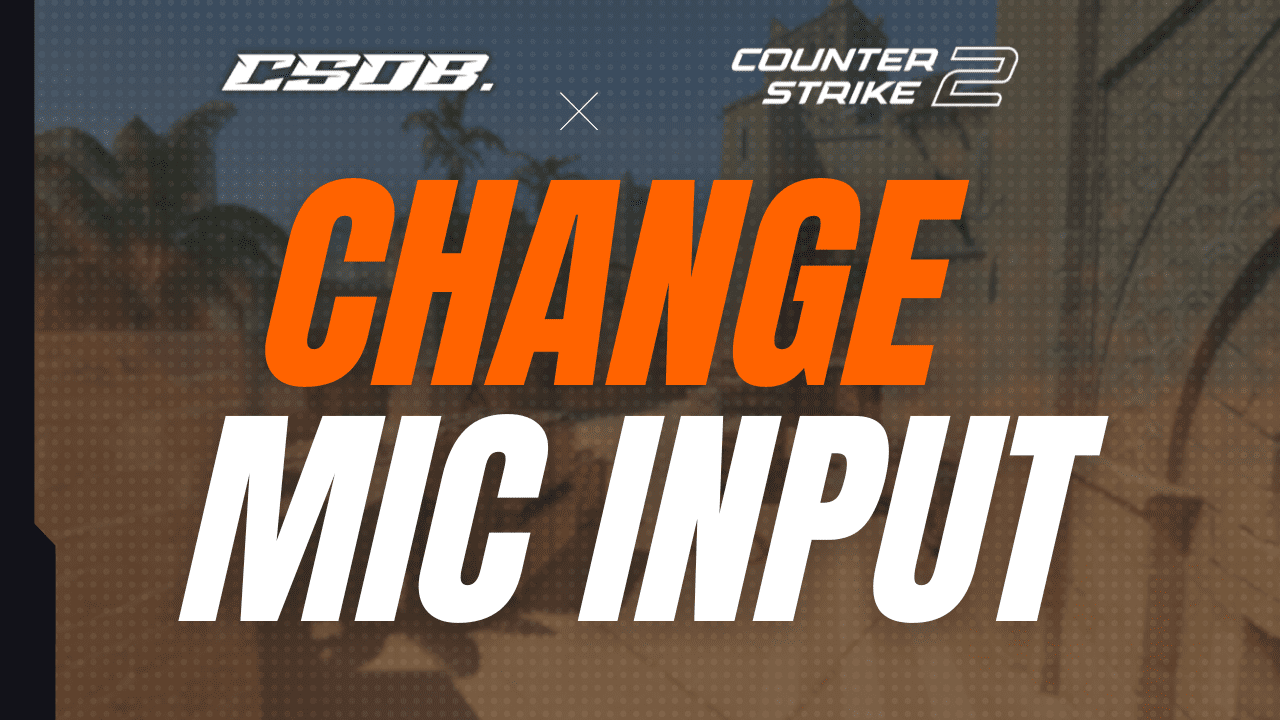
However, some players experience the issue of their CS:GO mic not working properly, which hinders them from communicating with the team effectively. One of the best ways to try to resolve the mic not working issue is to change your microphone input in the game. In this guide, we’ll teach you how to change mic in CS:GO.
How To Change Mic Input CS:GO
Changing your microphone input in CS:GO, you actually can’t do it through the in-game client itself. You must go through your Steam settings instead. Here is a step-by-step guide on how to change mic CS:GO through your Steam client.
- First, exit out of Counter-Strike and close your game.
- Next, open your Steam desktop client.
- On your Steam client, go to the top-left corner and click on the “Steam” button.
- Once a bunch of options appear, click on the “Settings” button.
- Now, there will be a handful of categories to select from. Go to the “Voice” category.
- At the top-right corner, you should see the “Voice Input Device” setting.
- On the right side, click on and expand the drop-down menu, where you should see a handful of devices available on your computer.
- Select the device name you are intending to use.
Optional: Test Your Microphone
If you’re changing your microphone input, there’s a good chance you might not know how your microphone sounds, or if it even works properly at all. We highly recommend testing your microphone sound before launching the game again. Fortunately, you can test your microphone directly through the same Steam settings menu. Here’s how you can test your microphone on Steam.
- Go back to the “Voice” category of your Steam settings as you did earlier.
- Under “Voice Input Device,” you should see the “Test Microphone” button.
- Click on the “Test Microphone” button and start speaking.
- If you can hear your voice perfectly fine, then you should be good to go.
- However, you can start adjusting your microphone volume if it sounds too loud or too quiet using the volume sliders below.
If you are satisfied with how your microphone sounds, you can launch Counter-Strike and start speaking to your teammates with the correct microphone.
Change Push To Talk Settings
Another optional thing to do is to check your Push To Talk settings. Push to talk is the primary way of communicating through voice chat in Counter-Strike.
When performing this method, players will hold down their Push To Talk key and speak out their message. Once they let go of the key, they will no longer be audible to their teammates. This ensures that teammates will not hear background noise or things that aren’t directed at them, making Push To Talk the ideal way of talking to your teammates. Here’s how you can enable Push To Talk in Counter-Strike.
- Launch Counter-Strike and then go to your settings menu.
- Next, go to the “Audio” section of your settings page.
- Scroll down to “Voice” and then look for “Voice/Microphone Mode”. Change it to “Push To Talk”.
- Under it, click on “Go To Microphone Key Binding”.
- Next to the “Use Microphone” setting, set your desired key as your Push To Talk button.
Now, you can start performing the Push To Talk method every time you are in the game by holding down the Push To Talk key whenever you want to speak.