In a competitive game like Counter-Strike, it is essential for players to optimize their settings to meet their preferences. Settings can be used to enhance gameplay, or increase performance on a low-end computer. However, it can be extremely confusing for newer players to go through CS2’s hefty amount of settings, which is why we’re here to help.
In this guide, we’ll cover the best settings for CS2 so you don’t have to do your own research. However, some of the options are entirely down to personal preference (which we will highlight), so keep that in mind and feel free to tweak them!
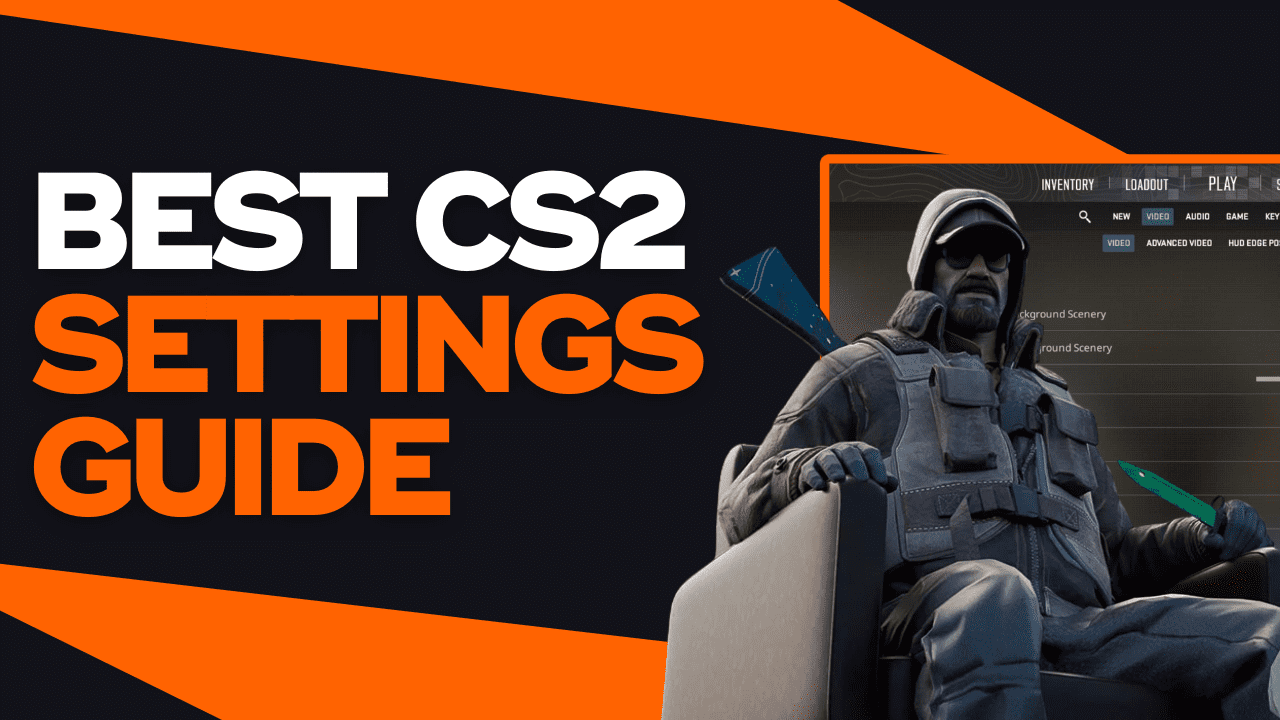
Best CS2 Video Settings
In this section, we’ll talk about the most optimal video settings. The CS2 best video settings are crucial for maintaining good performance when running the game.
Video Settings
- Main Menu Background Scenery: Personal Preference
- Item Inspect Background Scenery: Personal Preference
- Brightness: 110%
- Display Mode: Fullscreen
- Laptop Power Savings: Disabled
For basic video settings, the options mentioned above are the best choices for CS2 performance settings. The aspect ratio and resolution settings are missing because there will be a whole section dedicated to it later in the article.
Advanced Video Settings
-
- Boost Player Contrast: Enabled
- Wait for Vertical Sync: Disabled
- Current Video Values Preset: Custom
- Multisampling Anti-Aliasing Mode: None
- Global Shadow Quality: High
- Model / Texture Detail: Low
- Shader Detail: High
- Particle Detail: Low
- Ambient Occlusion: Disabled
- High Dynamic Range: Performance
- FidelityFX Super Resolution: Disabled
- NVIDIA Reflex Low Latency: Enabled
The advanced video settings section entirely depends on the strength of your setup and its capability to run the best CS2 graphics settings. In these examples, we have selected the best CS2 settings for FPS performance.
Two exceptions are the Global Shadow Quality and Shader Detail, which is set to high. Shadows in CS2 can give players an advantage in gun fights. It is worth sacrificing a little bit of performance to see player shadows properly, as these two are some of the best video settings for CS2.
Best CS2 Aspect Ratio and Resolution
Aspect ratio and resolution is highly important to maximize a player’s capability in Counter-Strike; finding the right one is critical for improvement. Though these settings come down to personal preference, here is some information that will help you choose.
There are three main aspect ratios to choose from and a short list of professional players who use them:
- Normal 4:3 (Used by s1mple, NiKo, ZywOo)
- Widescreen 16:9 (Used by device, sh1ro, apEx)
- Widescreen 16:10 (Used by karrigan, rain, EliGE)
Over 85% of professional players prefer playing on the Normal 4:3 resolution using its stretched version. This is because the screen gets zoomed in, making player models being wider and easier to shoot.
Most beginner and casual Counter-Strike players prefer using the default Widescreen 16:9 aspect ratio and 1920×1080 resolution. However, players transitioning into competitive CS often make the swap to 4:3 Stretched.
Professional Player CS2 Aspect Ratio and Resolution Settings
Refer to this table to understand the pros and cons of each aspect ratio to help you decide:
| Aspect Ratio | Recommended Resolution | Pros | Cons |
| 4:3 Stretched | 1280×960 or 1024×768 |
|
|
| 16:9 Native | 1920×1080 |
|
|
| 16:10 Native | 1680×1050 or 1280×800 |
|
|
At the end of the day, it is up to you to decide which of the three options is best.
Best CS2 Audio Settings
Overall, CS2 audio settings are straightforward, and only a few key settings will be mentioned in this section.
- EQ Profile: Natural
- L/R Isolation: 100%
- Perspective Correction: No
- Voice/Microphone Mode: Push To Talk
Professional player ropz, who is known to be a geek when it comes to Counter-Strike settings and customization, has suggested the best audio CS2 settings to change. He recommends against the default settings for L/R Isolation and Perspective Correction and uses the opposite values.
Best CS2 Game Settings
The game settings section is full of options, so not everything will be covered except for the most relevant settings.
Game Settings
- Enable Developer Console: Yes
- Max Acceptable Matchmaking Ping: 40
- Max Acceptable Game Traffic Bandwidth: Extremely Restricted
The max acceptable matchmaking ping is important for finding the best CS2 servers for your connection, ensuring you will not have high ping. In this example, it has been set to 40, but it is recommended to make it lower if your internet is capable enough.
HUD Settings
- HUD Scale: 1.10
- HUD Color: Bright White (Personal Preference)
- Large Player Count: Yes
The HUD is a valuable tool for information. It is recommended to set the HUD scale to its maximum, and enable large player counts for visibility purposes and seeing how many players are alive.
Team Settings
- Show Team Positions in HUD: Show Location And Equipment
- Show Player Colors in Competitive: Show Colors
- Friends Lobby Default Permissions: Friends Need Invites
The CS2 optimized settings for the “team category” displayed here are incredibly helpful to gather quick information during intense rounds. The lobby default permission should be set to Friends Need Invites if you have over 200 people on your Friends List.
Communication Settings
- Allow Animated Avatars: No
- Hide Avatar Images: Yes
Steam has introduced animated profile pictures that players can set as their Steam profile pictures. These GIFs can cause performance issues and increase the performance toll on your computer. It is highly recommended to disable animated avatars and hide avatar images, one of the best settings CS2 has to offer in the new game.
Radar Settings
- Radar Centers The Player: Yes
- Radar Is Rotating: Yes
- Radar HUD Size: 1.15
- Radar Map Zoom: 0.70
The radar settings mostly come down to personal preference, but most professional players such as NiKo have the settings featured above. Some people might not be a big fan of having the radar rotating around the player.
Best CS2 Crosshair Settings
Though every setting in Counter-Strike 2 comes down to personal preference, this idea applies the most to crosshair settings. It is impossible to tell you what the best crosshair settings are, as it varies between players the most.
Professional Player CS2 Crosshair Settings
For this section, we will list the crosshair codes of ten of the most well-known professional Counter-Strike players. Feel free to test them individually and see which one seems fit.
| Player | Crosshair Import Code |
| s1mple | CSGO-uCiX4-K9rbx-MVbTM-n3wDU-Gjj5P |
| ZywOo | CSGO-bWrwc-h6n4o-STtXv-FDVO4-acq3B |
| ropz | CSGO-Yyrjv-BnAsU-L3hrr-SfmLf-6G3tJ |
| NiKo | CSGO-PSKmy-2JJqn-Auxow-7rj34-HG8nM |
| m0nesy | CSGO-FSsT8-ACXnx-zmkHH-QWT4O-nND3J |
| device | CSGO-VErF3-9PSJa-KG7hy-EXkpN-XKk9Q |
| XANTARES | CSGO-RmuFZ-QE55z-Qs5e8-osOLr-a3acP |
| dupreeh | CSGO-TzW2V-XTs7Y-7ZBTz-owJUW-cjRqJ |
| Twistzz | CSGO-zWRiZ-W5HP2-N4e2z-AVQTL-kj74E |
| b1t | CSGO-APzXF-z6fQk-382MW-RcCJm-Q6izO |
To import these crosshairs, head over to the Crosshair Settings section in your CS2 client, hit the “Share or Import” button, then copy and paste the codes.
Best CS2 Sensitivity Settings
Similar to crosshairs, there is no best sensitivity value. However, there are two things you must know before getting into this section of the article.
The appropriate term for CS2 sensitivity is eDPI, or effective DPI. There are two factors to determining an eDPI:
- In-game Sensitivity
- Mouse DPI
The formula to calculate eDPI is very simple. It is the in-game sensitivity multiplied by your mouse DPI.
Professional Player CS2 Sensitivity Settings
With the concept of eDPI explained, let’s again go over the sensitivity settings of the same ten players we used as examples earlier.
| Player | In-game Sensitivity | Mouse DPI | Effective DPI (eDPI) |
| s1mple (AWPer) | 3.09 | 400 | 1236 |
| ZywOo (AWPer) | 2.00 | 400 | 800 |
| ropz (Rifler) | 1.77 | 400 | 708 |
| NiKo (Rifler) | 0.69 | 800 | 552 |
| m0nesy (AWPer) | 2.00 | 400 | 800 |
| device (AWPer) | 2.00 | 400 | 800 |
| XANTARES (Rifler) | 2.30 | 400 | 920 |
| dupreeh (Rifler) | 1.70 | 400 | 680 |
| Twistzz (Rifler) | 1.70 | 400 | 680 |
| b1t (Rifler) | 1.42 | 400 | 568 |
Overall, a common trend is that AWPers have higher eDPI compared to riflers. AWPers need to hit fast flicks, which require higher sensitivity. Riflers must maintain their precision, which is why most players have low sensitivity.
However, compared to an average player, the eDPI of professional players is, on average, way lower than casuals. Players not used to low sensitivity could have trouble adjusting and sometimes hurt their wrists, so be wary of that!
Best CS2 Bind Settings
In Counter-Strike, players can bind a setting onto a specific key to activate the action. These actions can include choices, such as pulling out a HE grenade, performing a jump throw, and more.
Here are some must-needed bind settings for players looking to improve in Counter-Strike:
Grenade Binds
It is always a good idea to have specific keys set to pull out the different grenades. Having a molotov ready in tense situations can be round-winning, and cycling through your grenades with the mouse wheel is just too inefficient.
- Flashbang bind setting: bind <key> use weapon_flashbang
- Smoke bind setting: bind <key> use weapon_smokegrenade
- Incendiary/Molotov bind setting: bind <key> use weapon_incgrenade; use weapon_molotov
- HE Grenade bind setting: bind <key> use weapon_hegrenade
Recommended keys to set grenade binds to include: “X”, “C”, “V”, “5”, “6”, “7”, “Mouse4”, or “Mouse5”.
Jump Throw Bind
The jump throw bind is one of the most popular bind commands in all of Counter-Strike. Numerous grenade lineups require players to jump and throw the grenade, but players performing it manually could slightly mess up the timing, resulting in a failure.
- Jump throw bind setting: alias “+jumpthrow” “+jump;-attack”; alias “-jumpthrow” “-jump”; bind <key> “+jumpthrow”
Recommended keys to set the jump throw bind to: “Alt”, “J”.
Scroll Wheel Jump Bind
Many players that prioritize movement, including professional players, prefer having their jump action bound to the mouse scroll wheel. This allows players to have an easier time bunny hopping as the mouse wheel helps them time jumps properly.
- Scroll wheel jump bind setting: bind mwheelup +jump;bind mwheeldown +jump
The only recommended keys to set the scroll wheel jump bind to are Mousewheel Up and Mousewheel Down.
And there you have it! These are the best CS2 settings for increasing performance and improving your capabilities as a player. Some settings, such as sensitivity, resolution, and crosshair are entirely down to personal preference, but using the choices of professional players can give you a good place to start.