Basically, CS2 Interp commands allow players to reduce lag and delays in the game just by using console commands. And these can be incredibly important because game performance issues can be the difference between life and death – winning and losing. They can be the difference between clutching a round or needlessly dying at the start of the round. As such, it comes as no surprise that so many CS2 players are looking for different ways in which they can reduce lag and delays in the game.
It goes without saying that the stability of your internet connection, hardware capabilities and rig can definitely contribute to smoother gameplay and a lag free gaming experience, there are also ways that you can improve your Counter Strike Global Offensive and CS2 experience by using console commands that help to fix lag.
Counter-Strike 2 Console Commands Guide: Optimize FPS and Performance
Looking to optimize your gameplay with Counter-Strike 2 console commands? While console commands are often associated with cheats, they serve a number of different purposes beyond that in competitive games like Counter-Strike 2. In fact, some commands are actually encouraged to boost FPS cap limit and overall performance in Valve’s most popular First Person Shooter title.
In this guide, we’ll look at everything you need to know about Counter-Strike 2 console commands. Learn how to open the console, rebind your console key, and create an autoexec file to automate commands upon game launch to ensure smooth gameplay. We’ll also give you a detailed list of CS2 console commands and program files for game control – and highlight a selection of the very best commands that are specifically geared toward boosting FPS and reducing lag… so inconsistent gameplay becomes a thing of the past.
Whether you’re a newcomer or a more experienced player, mastering these console commands can have a hugely positive impact on your Counter-Strike 2 experience.
How to Access the CS2 Console
First, you need to be able to know how to open the Counter-Strike 2 console while in-game:
- Launch CS2 and click on the gear icon to access Settings.
- Click on the “Game” tab located at the top.
- Set the “Enable Developer Console” dropdown to “Yes”.
- Close the Settings menu.
- Press the (~) or (`) key on your keyboard to bring up the CS2 console.
By default, the hotkey to open the console in CS2 is the key located between TAB and ESC at the top-left corner of your keyboard. On UK keyboard layouts, this key should be (`), while on US keyboard layouts, it should be (~).
How to Change Your Console Key Binding in CS2
You can customize the hotkey to open the CS2 console to a key that’s more convenient for you. To do this, go back to the Settings menu, but this time select the “Keyboard / Mouse” tab.
Next, open up the “UI Keys” secondary tab (or scroll down to locate the “UI Keys” section), where you can adjust the key associated with “Toggle Console” to your preferred choice for accessing the console in Counter-Strike 2.
CS2 Console Commands List
Here, you’ll find our selection of the most valuable Counter-Strike 2 console commands along with a description of its function and instructions on how to use it.
Console Command Description
- fps_max [#]: Limits the FPS. Set to 0 for no limit!
- bind [action] [key]: Associates an action with a hotkey, such as a jump throw bind.
- sv_cheats [0/1]: Toggles the use of “cheatier” commands in private matches.
- sv_infinite_ammo [0/1]: Toggles infinite ammo on or off.
- noclip: Enables flight mode, allowing you to move through walls and floors.
- god: Toggles invincibility on or off.
- kill: Instantly kills and respawns the player.
- disconnect: Disconnects from the current server.
- quit: Exits Counter-Strike 2.
- cl_drawhud [0/1]: Toggles the in-game HUD on or off.
- cl_show_team_equipment: Displays weapons and gear above teammates’ heads.
- cl_reload_hud: Reloads the HUD at default scale.
- r_drawtracers_firstperson [0/1]: Toggles your firing tracers on or off.
- cl_autohelp [0/1]: Toggles in-game hints on or off.
- cl_hide_avatar_images [0/1]: Toggles the visibility of player avatar images on or off.
- cq_netgraph 1: Shows latency data on-screen.
- cl_showfps 1: Displays basic FPS data on-screen.
- cl_showfps 2: Displays detailed FPS data on-screen.
- cl_showfps 3: Displays comprehensive FPS and server data on-screen.
- cl_showfps 4: Displays and logs in-depth FPS data on-screen.
- cl_showfps 0: Removes any FPS display.
- give weapon_[weapon name]: Spawns the specified weapon.
- sv_rethrow_last_grenade: Repeats the last grenade throw exactly.
- sv_grenade_trajectory [0/1]: Toggles tracers for grenade trajectories.
- sv_gravity [#]: Sets the gravity (default is 800).
- mp_respawn_on_death_ct [0/1]: Allows counter-terrorists to respawn instantly after death.
- mp_respawn_on_death_t [0/1]: Allows terrorists to respawn instantly after death.
- mp_roundtime [mins]: Sets the round time in minutes.
- mp_buytime [secs]: Sets the buy time in seconds.
- mp_roundtime_defuse [mins]: Sets the round time in Defuse modes.
- mp_roundtime_hostage [mins]: Sets the round time in Hostage modes.
- mp_buy_anywhere [0/1]: Toggles whether you can access the shop from anywhere.
- mp_maxmoney [#]: Sets the maximum amount of money you can have.
- mp_startmoney [#]: Sets the starting money for the game.
- sv_lan 1: Starts a LAN private server.
- mp_restartgame 1: Restarts the match. Necessary before some commands take effect.
- changelevel [map code]: Changes the level in private matches.
- launch_warmup_map [map name]: Starts a practice mode match on the specified map.
- sensitivity [#]: Adjusts mouse sensitivity.
- viewmodel_fov [#]: Adjusts field of view.
- ent_bbox: Displays an object’s collision box in orange.
- bot_kick: Removes all bots from the server.
- bot_add: Adds bots to the server.
- bot_place: Spawns a bot at your current position.
- bot_crouch: Makes all bots on the server crouch.
- bot_stop 1: Freezes all bots.
- bot_mimic 1: Forces all bots to mimic your movements.
- cl_disable ragdolls [0/1]: Toggles ragdoll physics on or off.
- cl_ragdoll_workaround_threshold [#]: Adjusts the accuracy of ragdoll positions.
- cl_crosshairsize [#]: Sets the size of the crosshair.
- cl_crosshairthickness [#]: Sets the thickness of the crosshair.
- cl_crosshairdot [#]: Sets the size of the crosshair dot.
- cl_crosshairgap [#]: Sets the gap size of the crosshair.
- cl_crosshaircolor [1-4]: Changes the color of the crosshair to preset options.
- cl_crosshairstyle [0-5]: Switches between static, dynamic, and other crosshair styles.
- cl_crosshaircolor_r [#]: Sets the red component of the crosshair color.
- cl_crosshaircolor_g [#]: Sets the green component of the crosshair color.
- cl_crosshaircolor_b [#]: Sets the blue component of the crosshair color.
- cl_crosshaircolor_alpha [#]: Sets the opacity of the crosshair color.
- cl_crosshair_friendly_warning [0/1]: Toggles the crosshair-friendly fire warning.
- volume [0-1]: Adjusts the game’s master volume.
- voice_modenable [0/1]: Toggles voice chat.
- voice_scale [0-1]: Adjusts teammate voice volume.
- voice_mute [player name]: Mutes a specific player’s voice chat.
- voice_unmute [player name]: Unmutes a specific player’s voice chat.
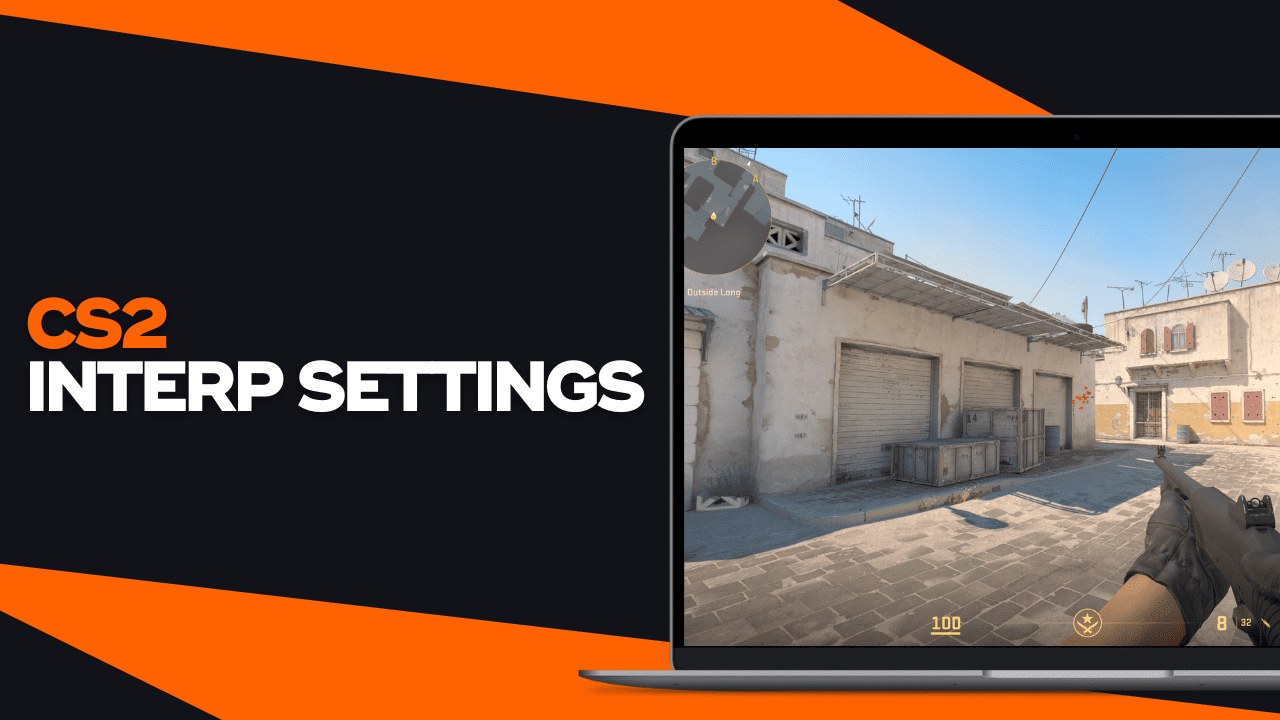
- cl_interp [#]: Sets the interpolation time.
- cl_interp_hermite [0/1]: Toggles hermite interpolation.
- cl_updaterate [#]: Sets the interpolation update rate.
- cl_interp_ratio [#]: Sets the interpolation ratio.
- vprof_off: Disables the VProf profiler.
- iv_off: Disables the interpolation variable profiler.
- demo_flush: Flushes the demo file with every network update.
These commands can often be used within an autoexec.cfg file rather than directly in the in-game console. Instructions for creating your own autoexec.cfg file are detailed in the section below.
Top CS2 Console Commands for FPS and Lag
Below, we’ve put together some of the most effective Counter-Strike 2 console commands to improve your FPS and reduce various types of lag while playing CS2. While not all of these commands may be applicable to your specific setup, you can try them out and you never know – it may even lead to improved performance!
Note: We recommend that you configure these commands using an autoexec.cfg file rather than the in-game console, as many of them reset to default values each time CS2 is launched.
Best CS2 Console Commands for FPS:
fps_max 0: Setting the FPS cap to zero removes the limit altogether, allowing CS2 to run as fast as your hardware permits.
cl_disable_ragdolls 1: Disables ragdoll physics for player corpses, alleviating CPU strain on older machines.
vprof_off: Disables the VProf visual profiling tool, which may take up CPU resources and impact performance, particularly on CPU-bound systems.
iv_off: Disables the interpolation variable profiler, similar to VProf, to potentially enhance performance on less capable machines.
cl_autohelp 0: Disables automatic contextual hints, reducing distractions and potentially improving performance, especially on low-end systems.
cl_hide_avatar_images 1: Disables player avatar images, freeing up CPU and GPU resources.
cl_crosshair_friendly_warning 0: Removes the friendly fire warning from the crosshair, reducing clutter and improving performance on resource-constrained systems.
cl_interp 0.015625: Lowers the interpolation time for smoother movement between server and client, improving responsiveness.
cl_updaterate 128: Increases the update rate to 128 ticks, improving the synchronization between server and client.
cl_interp_ratio 1: Sets the interpolation ratio to 1, thus optimizing interpolation for smoother gameplay.
demo_flush 0: Disables writing data to a file with each network update, potentially improving performance without having a noticeable impact.
By implementing these commands, you can really optimize CS2 for improved FPS and reduced lag, so you can enjoy a much smoother and therefore more enjoyable gaming experience.
Setting Up an Autoexec File in CS2
Many Counter-Strike 2 players find it convenient to create an autoexec file, a text document in the game files that will automatically execute a set of console commands every time CS2 is launched. This saves you from having to input the commands manually each time, and some commands are most effective when used in an autoexec file.
Here’s how to create an autoexec file for CS2:
- Right-click Counter-Strike 2 in your Steam Library.
- Select “Manage” > “Browse Local Files”.
- Navigate to the “Game” > “CSGO” > “CFG” folder.
- Right-click on an empty space and choose “New” > “Text Document”.
- Rename the file to “autoexec.cfg” and remove the “.txt” extension.
- Confirm the change when prompted.
- Open the “autoexec. cfg” file using Notepad.
- Add any console commands you wish to execute every time CS2 launches.
- Save and close the file.
To ensure the autoexec file is executed:
- Right-click Counter-Strike 2 in your Steam Library.
- Click “Properties”.
- In the “General” tab, scroll down to “Launch Options.
- In the text box, type “+exec autoexec.cfg”.
- Close the Properties window and launch Counter-Strike 2.
Following these steps should automatically activate any console commands stored in the autoexec.cfg file whenever you launch CS2, which means you won’t need to worry about manual entry. This should streamline your gameplay experience and ensure that your preferred settings are consistently applied.
Hopefully, now you know a lot more about the best console commands in Counter-Strike 2 to optimize FPS, minimize lag, manage private matches, customize your HUD and crosshair, and much more. And, to answer the question… yes, CS2 interp changes work – as long as you know what you’re doing!