
Many new maps have been added and removed from time to time in Counter-Strike. Some of these maps, like Tuscan, were created and designed by the community. Tuscan stands out as one of the most popular maps in the workshop. For this very reason, Valve decided to add the Tuscan map to the game with a decision made on August 16, 2022. However, with the release of CS2, we unfortunately cannot see Tuscan in the map pool. For now, Valve does not provide clear information about whether the Tuscan map will be in the game or not.
However, since we have examined the nade lineups of all maps in CS2, we wanted to open a separate page for Tuscan. So what exactly do we know about Tuscan nade lineups? Although Tuscan is not too complicated, it has various lineups in terms of smoke, flashbang and molotov usage. We will divide our article into two different titles, A site and B site. In these titles, we will explain the nade lineups in a way that T and CTs can use complexly. Of course, you will see separate titles for smoke, flashbang and molotov. Let's not confuse you by further derailing the conversation. If you are ready, let's take a closer look at our Tuscan nades guide.
Best Tuscan Nades Lineups
We can say that the CT side has a clear advantage over the Tuscan map. The proximity of the CTs to the A and B sites allows for much easier positioning. At this point, it becomes important for terrorists to know the map's callouts and smoke lineups well to win. Today, we will talk about many smoke lineups for both bombsites. We would also like to state that we will also talk about various flashbang and molotov lineups. Now, if you are ready, let's start with Bombsite A and take a closer look at the lineups that are ideal for both CTs and terrorists.
Bombsite A
Bombsite A is a large area with high walls and various wooden boxes. Although it seems easy to defend, terrorists can attack from many different points. Including the underground, terrorists can enter site A from a total of 3 different points. CT players can block these entrances with smoke or molotovs. Similarly, terrorists can throw nades at possible ambush areas within site A by CT players. We think that lineups should be taken into consideration in a place where such strategic moves need to be made.
Smoke Lineups
We’ll start our article with the smoke nade lineups that are valid for site A. Here are the tactics you need to know:
A site smoke from A storage
If terrorists want to conduct an operation on site A, they must first proceed safely to storage section A. Here you will see an umbrella and chairs stacked on top of each other. Come to the front of the chairs and turn your cross to the wall section between the two bastions. However, the target point should be directly on the upper left of the first stone ledge of the wall section. After making sure you have targeted this area clearly, throw the smoke nade with jump + left click.
A site smoke from A storage 2
This is the second lineup that you can use to successfully throw smoke nade to site A. This time, you should go to the same area again and move to the left side of the boxes where there were 3 barrels a moment ago. After coming a little in front of the barrel behind, you should aim your cross towards the right bastion of the castle in front of you. However, make sure to aim exactly at the left end of the bastion while aiming. After making the adjustments, just jump + left click to send the smoke nade towards site A.
A site smoke from cat
The Kitty Cat area is an area where there is a small ramp leading to Site A. So, A section of Site A can be easily seen from this area, albeit limited. Terrorists can use smoke, molotov and flashbang nades to secure the area before entering directly. Now, in the smoke nade lineups that we will explain, come to the place where you will enter Site A and position yourself on the right wall. When you reach the right wall, you will see the blue container in front of you. You should aim for the upper left corner of the blue container, but this target should be the electric pole at the end of the container. You should raise your cross a little, aim towards the right side of the electric pole and throw the smoke nade.
With this smoke, CT players will not be able to see Site A from the mid and boost boxes. Although it is a short-term block, we think that it is the time your team needs to settle in Site A.
A site smoke from squeeky
We mentioned the underground as a third entrance to the A site. After exiting the underground, terrorists can use smoke or molotovs to get a better position. After opening the door while exiting the underground, you will see a box. You should target the symbol in the middle of the box. After targeting the symbol, first press the W key and then throw the smoke nade with jump + left click. This smoke nade you throw will directly block the view from Mid to the A site.
CT Arch from A storage
Next is another smoke lineup that is very important for terrorists. Players should go to the A storage section again. Here, you need to position yourself on the right side of the wall which is the entrance to the underground. After standing exactly on the edge of the wall, if you lift the cross into the air, you will see the tip of the castle. Aim your target as the middle part of the stone on the far left of this castle. Then throw the smoke nade towards the enemy with the jump + left click combo.
CT Arch from T Spawn
We would like to talk about a very difficult smoke lineup that terrorists have to use from time to time. This smoke shot directly restricts CT's control over the arch and mid. For this, you need to come to the ramp after starting the game. Before going down the ramp, lean your back against the stone wall behind you. Then you will see ropes with lamps in front of you. At the beginning of these ropes is the electric control system. After pressing CTRL with your cross, aim at the upper right part of this electric control system. Then slowly press W and while moving forward, send the smoke nade to the arch with jump + left click. Frankly, since it is a very difficult shot, we recommend that you practice a little. Otherwise, you will waste your smoke nade in vain because you will not be able to make a successful shot.
Sniper/House from A Storage
CT players can control the A site from many different angles. One of these is an area known as the sniper house. Here, CT players using snipers can catch terrorists off guard very safely. An experienced terrorist player should restrict access to this area by directly throwing smoke when they know that the opponent has an AWP. To do this, you should approach the sign in front of the ramp in the A storage section. After approaching the sign, you will see a cable shadow on the ground. After coming to the shadow, look at the ground and target the leftmost middle area of the one that is a different color than the other paving stones. Finally, raise your head and target the stone ledge in the middle part of the castle right in front of you and throw the smoke nade with jump + left click.
Flashbang Lineups
Terrorists generally set up a game in Tuscan. Almost all of the smoke lineups we have described are used for terrorists. Now, we want to talk about how you can use flashbangs tactically.
Cat pop flash
Terrorists may encounter enemies in the cat area while moving to site A. It is vital to rush here with a pop flash. To do this, a player must come in front of a building with a "Lotteria" sign. You will see an electrical panel in front of the building. After positioning yourself on the right side of the electrical panel, you should aim for the wall opposite. You can see the green leaves of the tree on this wall. You will see two rocks with different colors diagonally below the green leaves. After targeting the middle of the rocks, you can throw the flashbang with jump + left click. Since this flashbang you throw will directly hit the cat, it will help you neutralize any ambushes in that area instantly.
A1 entry flash
After terrorists enter the cat section, they can use the entry flash to quickly enter the A site. To do this, you need to target the upper right corner of the electric pole behind the wall in the cat area. However, you should make sure that your cross is aimed at the sky. After making the adjustments, you can shoot with just left click.
A Site entry flash
If you want to enter A site more safely, you can use the entry flash from the cat area. To do this, stand on the right edge of the wall that provides entry to A site from the cat and aim your cross towards the wall next to the exit door of the underground. Then throw the flashbang nade to this wall and quickly enter A site. This flashbang will instantly blind most people in A site.
Squeeky flash
You must remember the underground area, which is the terrorists' entry point to site A. The door that you can exit from this area to Site A is called Squeeky. Using flashbang nade is mandatory for Squeeky. Otherwise, you may die instantly since you are in a narrow area. To do this, stand still on the wall next to the door before opening it and turn your cross behind you. You will see a wall beam in the back. Aim for the upper right part of the beam and throw flashbang nade with left click. Don't forget to open the door quickly after this throw.
Molotov Lineups
The last lineups we will talk about for site A will be related to molotov nades. When used tactically, molotov nade allows you to extremely harass the enemy. Especially when you want to rush site A quickly, you need molotov lineups. Without further ado, let's quickly examine molotov lineups.
Forklift molotov from cat
There are many areas where CTs can set up ambushes in site A. However, the best ambush point is the forklift, as it can see both sides. If the terrorists want to completely take over Site A, they have to throw a molotov at the forklift. To do this, after you reach the cat area, you need to position yourself on the edge of the right wall as usual. Then, after moving a little to the left, you will see the roof of the forklift. Aim for the top of the middle second line of the roof and after moving the cross a little more to the left, send the molotov with left click. This molotov will start burning the entire area where the forklift is located. If there is a CT player there, he will either burn to death or become your target directly.
Forklift molotov from squeeky
It is important to enter the A site from the underground. We have often mentioned the Squeeky area in our guide regarding smoke, flashbang and molotov. Now we will tell you how to use the molotov from here and target the forklift again. After successfully exiting the underground with a flashbang, you can continue to harass the opponent. To do this, take yourself outside a little and target the beam of the roof where the forklift is located. You will see a dark stone on the top right of the person. Aim for the stone and throw the molotov with just left click. Since the molotov you throw will directly hit the forklift, CT players will instantly become your target.
Bombsite B
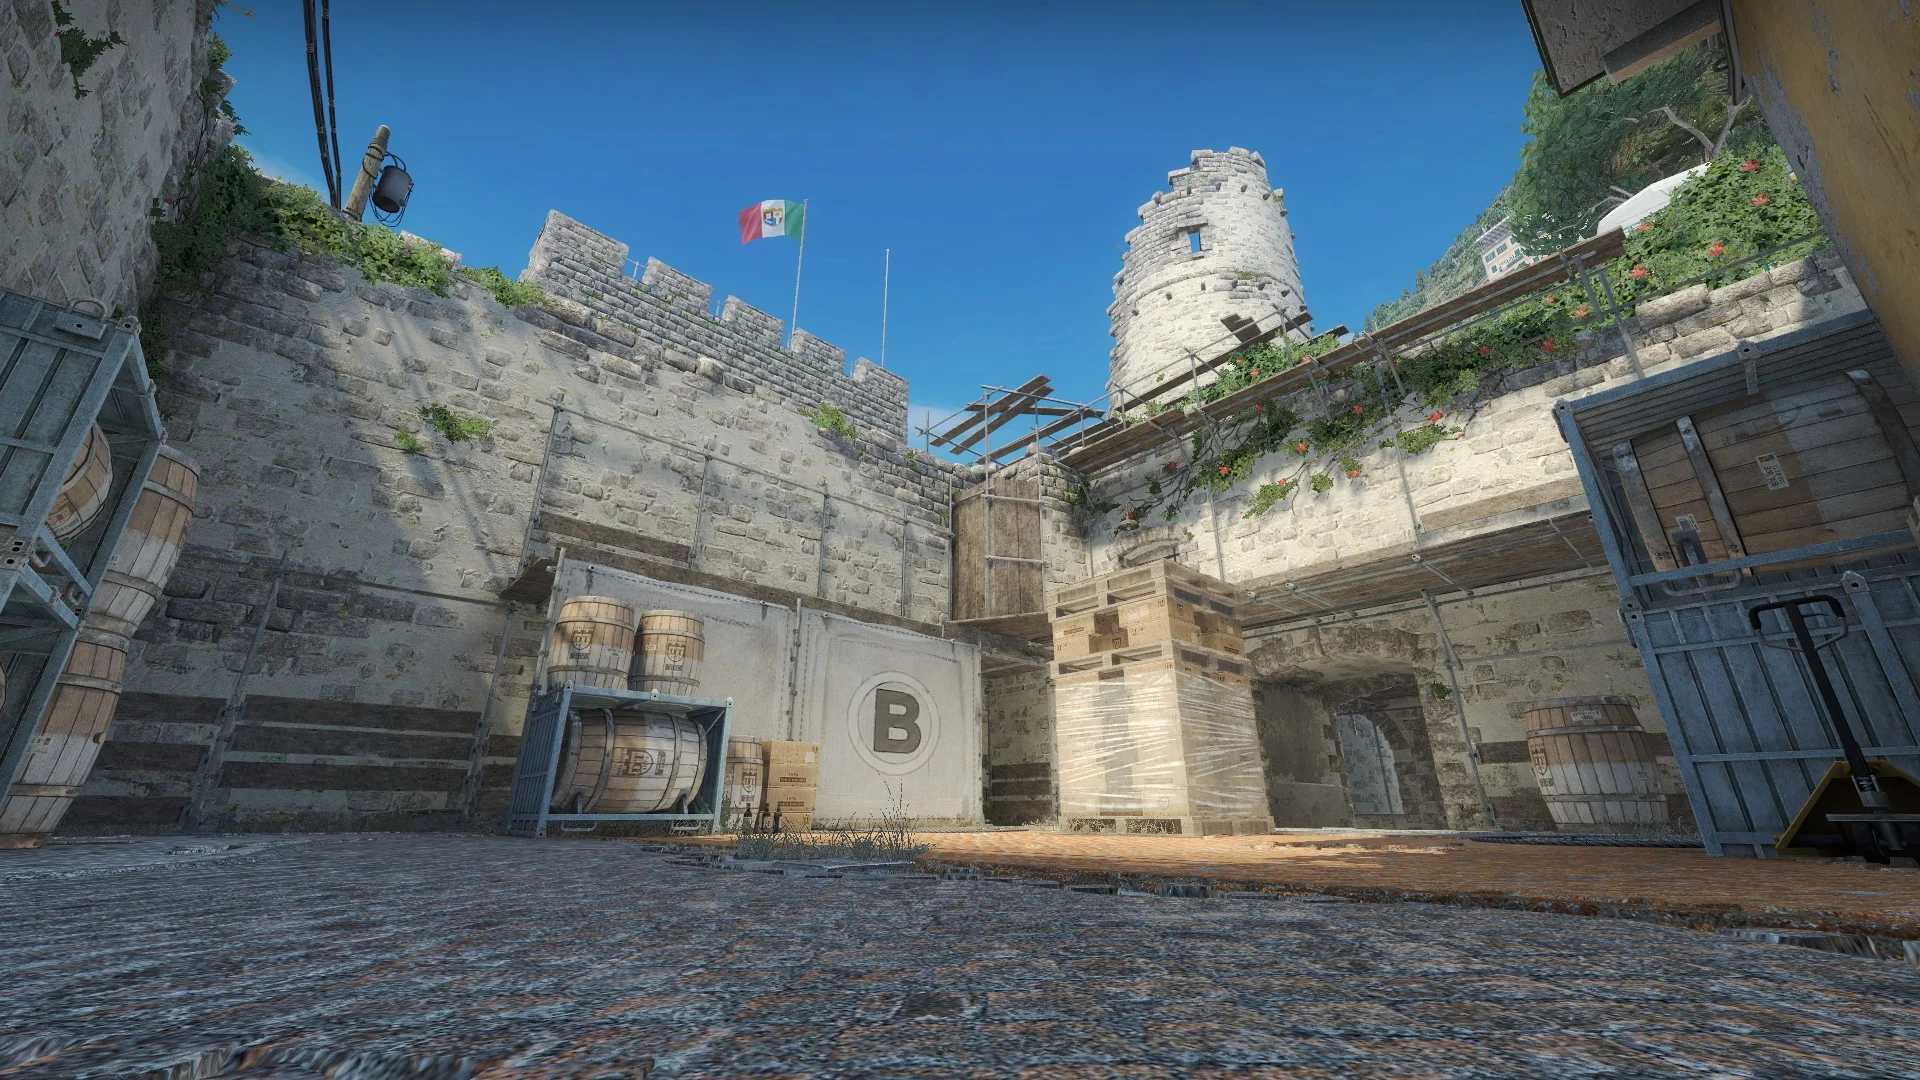
There are different points to enter site B. The first point is the winding streets called snake. The second important point is B long. Now we will take a look at the nade lineups you can use for these areas one by one.
Smoke Lineups
We have prepared the best possible smoke lineups for site B. Of course, some will be difficult and some will be quite easy. That's why we recommend you download the Tuscan map from the workshop and practice a little.
B1 Smoke
You need to know the callouts for some smoke lineups on the Tuscan map. For the smoke lineups we will talk about now, you should be in the SA-2 area. In this area, you will see a wall with "B" written on it. On the left side of the wall is a barrel. Approach the barrel you see and aim for the blue towel hanging on the rope right behind it. You should aim for the middle upper part of the second white area in the middle of the towel. After making all the adjustments, crouch and then throw the smoke nade with jump + left click.
B Door Smoke
If you want to throw smoke accurately into the B door area, you need to proceed to the snake area. You will see a large wall in the middle entrance of the snake area. Before targeting the wall, you should turn your back to the building behind. Then target the stony ledge on the second row at the top of the castle. Then raise this cross to the upper right and make sure you are aiming exactly at the sky. Then throw smoke nade by just left clicking while crouching.
Lower B and Upper B Smoke
If you want to block the CTs' perspective in the B site, you need to throw smoke nade to the lower and upper sections. To do this, you should first come to the Banana Hotel and stand at the corner. Then you will see a street lamp in front of the castle entrance in front of you. Set Cross to the middle part of this street lamp and throw smoke nade with jump + left click. To throw smoke to Upper B, you should turn your target to the left from the same area. You will see a tree and a balcony here. There is a small pile of leaves in the middle part of the tree trunk. After targeting the lower part of this pile of leaves, stay still and throw smoke with jump + left click.
Bridge from T Short
As you progress in the Snake area, you will come to the bridge area where CTs can greet you. Since the bridge area is quite dangerous, it can prevent terrorists from passing to B. To do this, go to the T short area and find the boards with "B" written on them. These boards should be right in front of you. When you turn around, you will see rocks with two different colors. Aim for the rock on the far left and lean back. Then, after turning your back to this rock, target the third cylinder on the left side of the pier in front of you. Finally, run and jump and throw the smoke nade with left click.
Flashbang Lineups
It is not possible to talk about many flashbang lineups for site B. That's why we recommend you use flashbang according to the flow of the game and the action situation. We will still talk about some tactical flashbang lineups in this section.
Edward Flash
After the terrorists spawn, when you move to site B, you will see a small landing ramp. There is an electric panel on the left side of this ramp. Go up to the electric panel and set your target to the lamp in the bottom left. When you aim Cross exactly at the lamp, throw the flashbang nade with jump + left click.
B Entry Flash
If terrorists want to rush to site B, they have to use entry flash. Otherwise, you will be an easy target. To use entry flash, you must first target the top of the street lamp from the ramp on Long B. After targeting the lamp, you must run and then throw the flashbang nade with jump + left click. With this throw, all CT players in site B will be blinded immediately.
Molotov Lineups
Molotov is an important piece of equipment that allows you to harass your opponent when used tactically. With the lineups we will talk about under this heading, you will have to think twice when using Molotov.
Window Molotov from B Short
If terrorists want to easily access B, they need to dominate B yard via snake. However, there is a very dangerous window area when going from snake to B short. Terrorists should neutralize this window with either smoke or molotov. Our best advice at this point is to use molotov. To do this, you should come to the front of the entrance ramp to B short and stand in the middle. Then aim the cross at the top left and middle part of the iron pier just across. Then you can throw the molotov with just left click.
B4 Molotov from Long B
The tactical molotov use that we will now talk about directly targets the B4 area. To do this, you should approach the ramp on B long. Then you need to aim your cross at the middle of the yellow building with green windows on the far side. After making this adjustment, you can run and throw the molotov with left click.
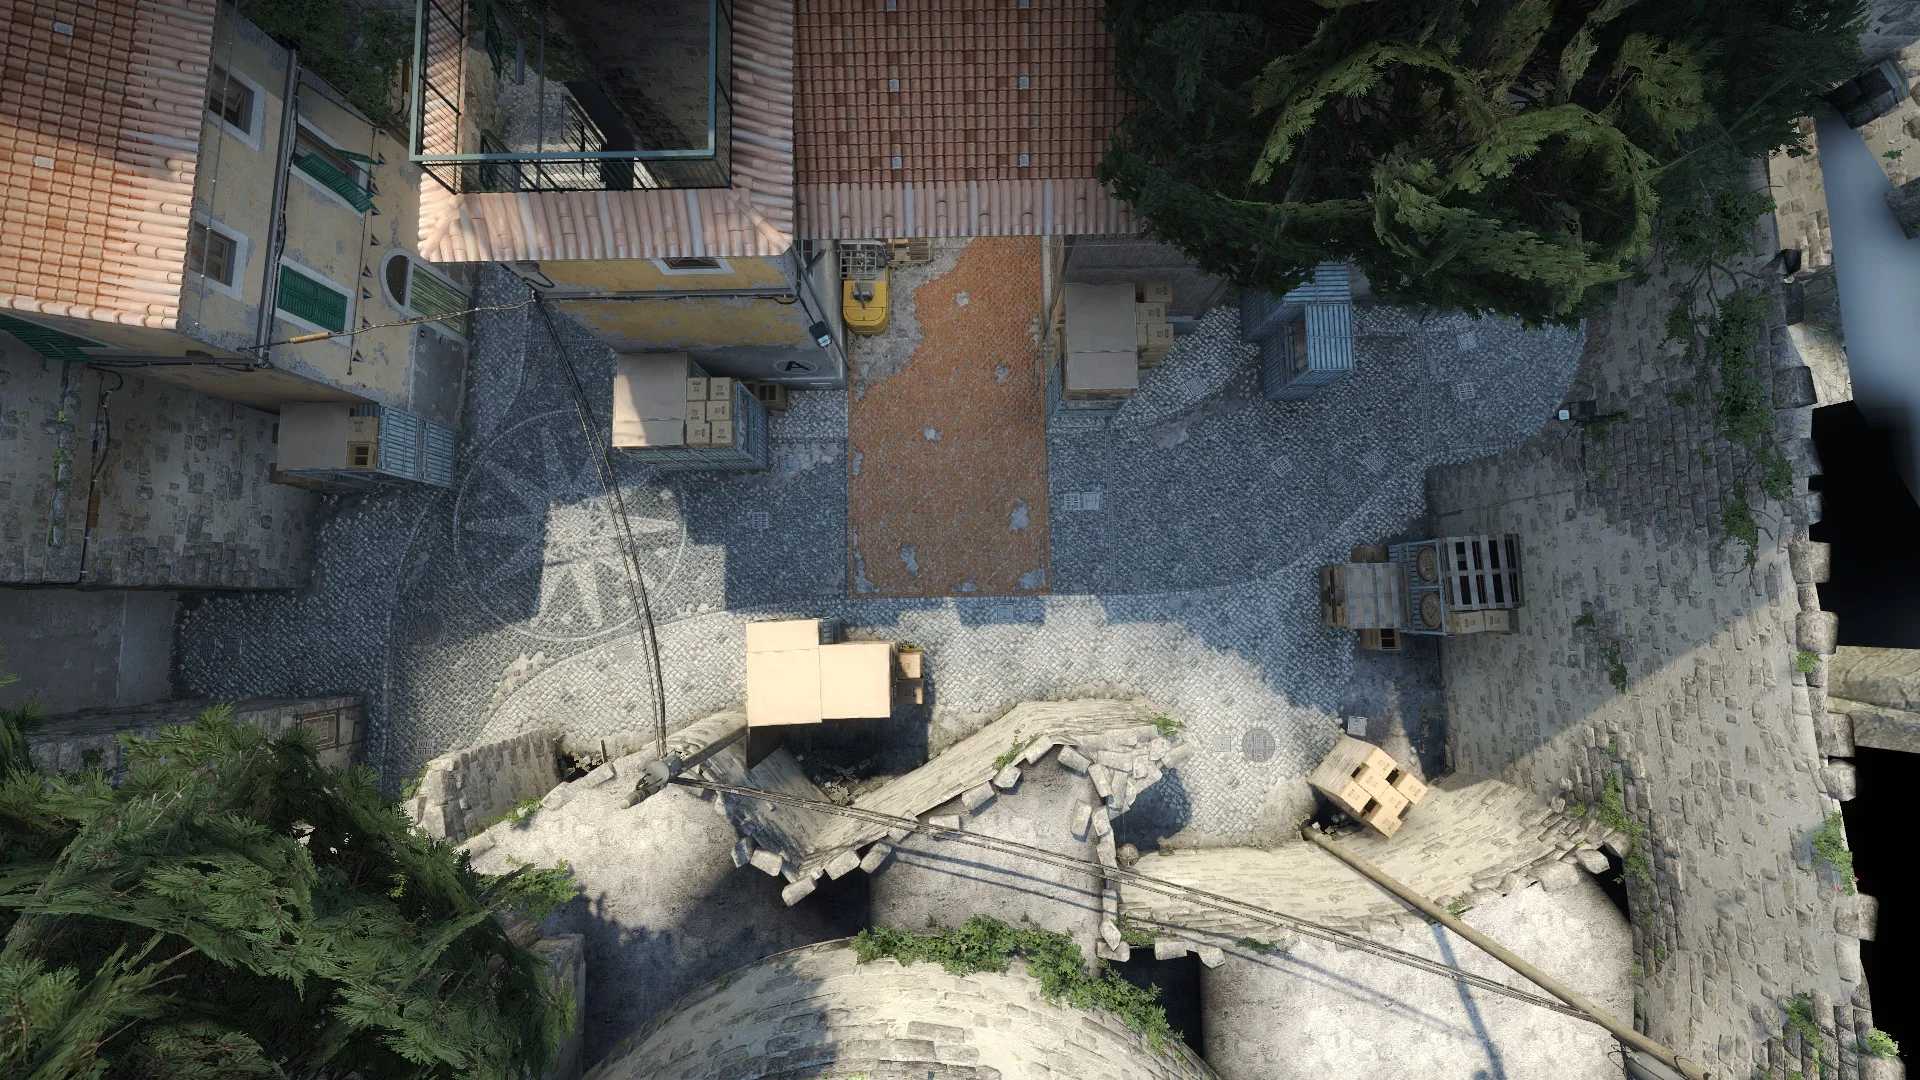
MID
Although MID is not a very important location on the Tuscan map, it still needs to be paid attention to. That's why we want to talk about a few different smoke nades lineups that you can use on MID.
Smoke Lineups
The smoke lineups that you can use for the MID region are quite useful as always to suppress the CT side. As we mentioned at the beginning of our article, CTs have a great advantage in terms of placement on this map. Terrorists are trying to turn this advantage to their advantage with smoke, molotov and flashbang lineups.
Mid Lurk (one-way) Smoke
After starting the game as T base, approach the building on the right and position yourself on the right side of the green door. Here you will see an area where the stone road is broken. Place your cross on the top right corner of the stones in the broken area, mark your target at the very edge of the roof behind you and throw the smoke with the jump + left click technique.
CT spawn smoke from T spawn
Come back to the area with the green door and the broken stone road. Then turn around and aim for the upper middle part of the shadow where the basketball hoop is. Then run and throw the smoke nade with jump + left click. This smoke will hit the Mid directly. If you hit the smoke nade without any problems, the CTs' mid vision will be completely blocked.
Recommended Articles

Pins in CS:GO/CS2: A Full Guide
If you're a follower of Counter-Strike, then you may have heard of pins. If you haven't, they're well worth knowing about.

Counter-Strike 2 Follow Recoil Guide
In this guide we will show you what Follow Recoil is in CS2, and if it’s worth using or not.
